
Preparing to Sell · 6 min read
How to Prepare Your Home for Staging
A week-by-week checklist from our walkthroughs, so install day is about styling, not sorting.

By Johanna French, owner and head stager
Bayboro Drive | New Albany
The best staging installs we do are the ones where the homeowner has done the groundwork. Knowing how to prepare your home for staging is less about design and more about editing: removing what distracts, fixing what nags, and giving the rooms back their space. Here is the order we recommend, based on what we see on walkthroughs across Central Ohio.
How to prepare your home for staging: start two to three weeks out
Decide what is moving with you
Walk each room and sort things into three groups: keep for staging, pack now, and let go. Packing now is the secret. You are moving anyway, so every box packed early is a box that is not in the listing photos.
Pack the personal things first
- Family photos, children's art, diplomas, fridge magnets and notes.
- Collections: figurines, sports memorabilia, stacks of records, rows of mugs.
- Religious or political items and anything with names on it.
- Most of the books. Keep a few with good spines for styling.
This is not about hiding who you are. It is about making room for a buyer to picture who they will be in the house.
Edit the furniture
Most lived-in rooms have one or two more pieces than they need. An extra armchair, a side table that blocks a path, a treadmill in the bedroom. Removing them is often the single biggest visual change you can make. If you are unsure what should go, that is exactly what the consultation is for.
One to two weeks out: clean and fix
- Deep clean kitchens and baths: grout, glass shower doors, range hood, inside the oven.
- Wash windows inside and out, and dust blinds and ceiling fans.
- Touch up scuffed paint, especially in hallways and around light switches.
- Fix the small things buyers notice: dripping taps, loose cabinet handles, sticky doors, burnt-out bulbs.
- Clear the garage enough that a car could plausibly fit.
- Tidy the front: sweep the porch, trim what is overgrown, and make the house number easy to read.
Get the lighting consistent
Mixed bulb colours are the most common thing we fix on install day. One warm lamp beside one blue-white ceiling light makes a room look patchy in photos. Pick one colour temperature and use it throughout the main rooms.
The last few days: clear surfaces and closets
- Kitchen counters: down to one or two items, or nothing at all.
- Bathroom counters: everything into a drawer or a bin under the sink.
- Closets: remove about half. Buyers open them, and a packed closet reads as not enough storage.
- Floors: nothing on them that is not furniture. No baskets, shoes or cords snaking across the room.
- Pets: plan where bowls, beds and litter boxes go for photos and showings.
What to leave out for the stager
In an occupied home, not everything should go into boxes. Supplemental staging works by mixing our inventory with your own pieces, so it helps to know what we are likely to keep:
- Neutral sofas and chairs in good condition, even if they are not your favourites.
- Solid wood dining tables, dressers and nightstands.
- Plain white or light bedding, and any good-quality throws.
- Lamps with simple shades, especially pairs.
- Healthy plants and plain ceramic or glass vases.
Leave these where they are and we will decide on the day whether they stay, move rooms or step aside. It is much easier to work with a piece that is in the house than to ask you to unpack it.
Install day
Installation usually takes one to two days. For a vacant home, the house just needs to be clean and accessible. For an occupied home, we need clear floors and surfaces in the rooms we are styling, because we will be mixing our inventory in with your own pieces. Plan to be out of the way, or at least out of the room, while we work. Book the photographer for after we finish, not before.
Living in a staged home
If you are still living there, the goal is to be able to reset the house in about 15 minutes before a showing. Keep a laundry basket for last-minute clutter, make beds every morning, and keep the kitchen counters clear. It is a few weeks of living a little more carefully. Our post on what not to do when staging a house covers the habits that most often undo a good install.
Where the consultation fits
Our advisory staging consultation is a one-hour walkthrough of your home, focused on what you already own. A team member looks at layout, light and flow room by room, then writes up a checklist of what to move, remove, pack and fix. Many sellers do the list themselves; ask us if you need hands-on help with the changes.
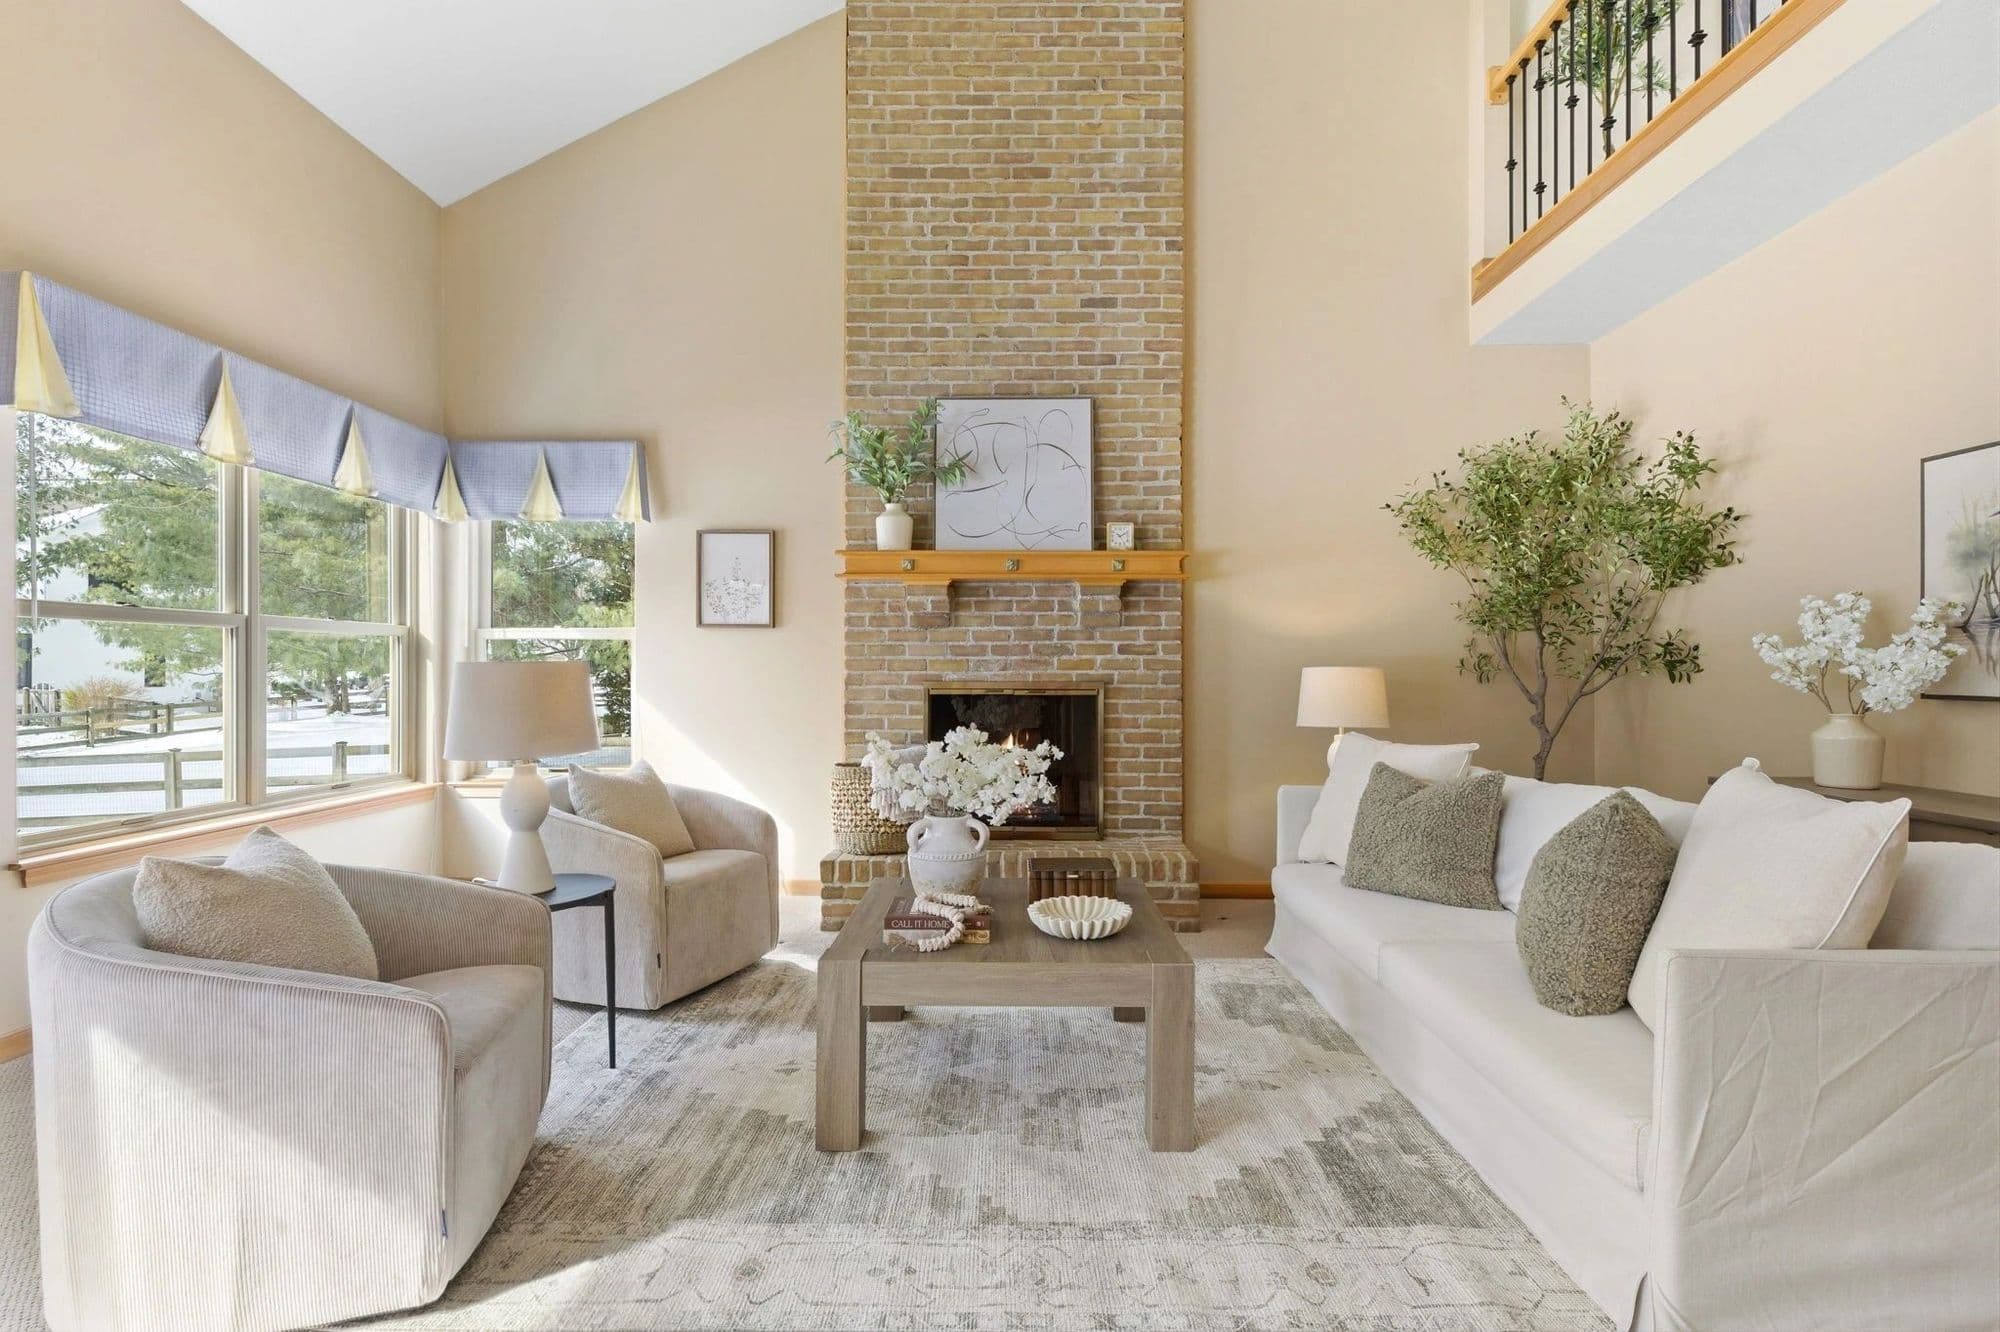
The Bayboro Drive project in New Albany shows how far careful editing goes. The house kept its character, a sage green dining room, a warm yellow living room, a pastel child's bedroom, and the furniture was chosen and placed so those colours looked intentional rather than busy.
Not sure where to focus first? Read which rooms to stage first, then request a free estimate and we will take it from there.
The service behind this article
Advisory Staging Consultation →A one-hour walkthrough and a written checklist for preparing your home with what you already own.